Datapods, and why they matter
Okay, a quick introduction:
We all know that tech companies have vast amounts of data about all of us. Data that specifically correlates to you is your personal Data. Also called personally identifiable information (or PII in short).
Now, theres been a lot of talk about privacy, data governance and the like. Basically, lots of people worry that their personal data could be misused.
Thats where Datapods come in.
Pods, short for personal online data storage, is an idea coined by none other than Tim Berners Lee (yes, thats the inventor of the Internet).
Pods work like personal data safes. By storing their data in a pod, individuals retain ownership and control of their own data, rather than transferring this to digital platforms. Under this system, companies can request access to an individual’s pod, offering certain services in return – but they cannot extract or sell that data onwards.
Read more about it here
The Technical Side
Now, Tim Berners Lee didn’t just talk about the Idea, he actually founded a company that has been developing an open specification for Pods. The Company is called Solid.
I want to try and setup my own personal data pod and document the Journey here :)
There is a seemingly well maintained Solid Server Implementation on GitHub which i will use: https://github.com/CommunitySolidServer/CommunitySolidServer/
Of course you’ll need a place to ssrun this, preferably your own Server. I have access to a personal Ubuntu Server which i use for all sorts of things, if your deployment is different you may have to change these steps a little ✌
First, lets get the initial deployment done:
Lets create a directory and clone the Solid Community Server:
mkdir ~/Solid
git clone git@github.com:CommunitySolidServer/CommunitySolidServer.git
We will be running the Docker version of the server. I don’t wanna deal with installing Node.JS.
docker run --rm -p 3000:3000 -it solidproject/community-server -c config/default.jsonRunning this should get the pod up and running with the default config. However, i want to customize some of the parameters, namely the baseUrl.
So running this should to the trick:
docker run --rm -d -p 3000:3000 -it solidproject/community-server -c config/default.json --baseUrl https://pod.endler.tech/You’ll also need to modify your DNS records if you want to run the pod on you custom domain.
But before we run the container, let’s setup nginx to access the subdomain.
Setting up Nginx
Luckily, the Solid Docs provide nice guidance of how to setup nginx for your Pod-Server: https://solidproject.org//self-hosting/css/nginx
So this shouldn’t be much of a challenge 🙌
The nginx config should look like this:
# Datapods, and why they matter
upstream community-solid-server {
  server 127.0.0.1:3000;
}

# Redirect HTTP to HTTPS
server {
  server_name pod.endler.tech;
  listen 80;
  return 301 https://$host$request_uri;
}

# Proxy traffic for https://pod.endler.tech/ to http://localhost:3000/
server {
  server_name pod.endler.tech;
  listen 443 ssl http2;
  ssl_certificate         /etc/letsencrypt/live/pod.endler.tech/fullchain.pem;
  ssl_certificate_key     /etc/letsencrypt/live/pod.endler.tech/privkey.pem;

  # Proxy all other traffic to the Solid server
  location / {
    # Delegate to the Solid server, passing the original host and protocol
    proxy_pass http://community-solid-server$request_uri;
    proxy_set_header X-Forwarded-Host $host;
    proxy_set_header X-Forwarded-Proto $scheme;

    # Pass these headers from the Solid server back to the client
    proxy_pass_header Server;
    proxy_pass_header Set-Cookie;

    # Enable Websocket support
    proxy_http_version 1.1;
    proxy_set_header Upgrade $http_upgrade;
    proxy_set_header Connection "upgrade";
  }
}
If you want to use this, you’ll have to replace the domain name with your own one :)
Save this file in /etc/nginx/sites-enabled/pod and you should be good to go :)
But we’ll need one more thing if we want to deploy this: the SSL certs we referenced.
Getting SSL Certs
Before we can apply the nginx config, we’ll need to get the SSL Certs for our custom domain. Luckily, this is easy as long as you’ve configured the DNS records correctly.
Just run this(and substitute your custom domain):
sudo service nginx stop

sudo certbot certonly --standalone --preferred-challenges http -d pod.endler.tech

sudo service nginx start
If everything worked correctly, certbot should have returned something like this:
└─(bash)$ sudo certbot certonly --standalone --preferred-challenges http -d pod.endler.tech
Saving debug log to /var/log/letsencrypt/letsencrypt.log
Requesting a certificate for pod.endler.tech

Successfully received certificate.
Certificate is saved at: /etc/letsencrypt/live/pod.endler.tech/fullchain.pem
Key is saved at:         /etc/letsencrypt/live/pod.endler.tech/privkey.pem
This certificate expires on 2022-08-25.
These files will be updated when the certificate renews.
Certbot has set up a scheduled task to automatically renew this certificate in the background.

- - - - - - - - - - - - - - - - - - - - - - - - - - - - - - - - - - - - - - - -
If you like Certbot, please consider supporting our work by:
 * Donating to ISRG / Let's Encrypt:   https://letsencrypt.org/donate
 * Donating to EFF:                    https://eff.org/donate-le
- - - - - - - - - - - - - - - - - - - - - - - - - - - - - - - - - - - - - - - -
Putting it all together.
Now, with the nginx config and the certs in place everything should be good to go :)
Simply run the Docker Container (if it is not already running), and you should be able to access your Pod under the specified domain.
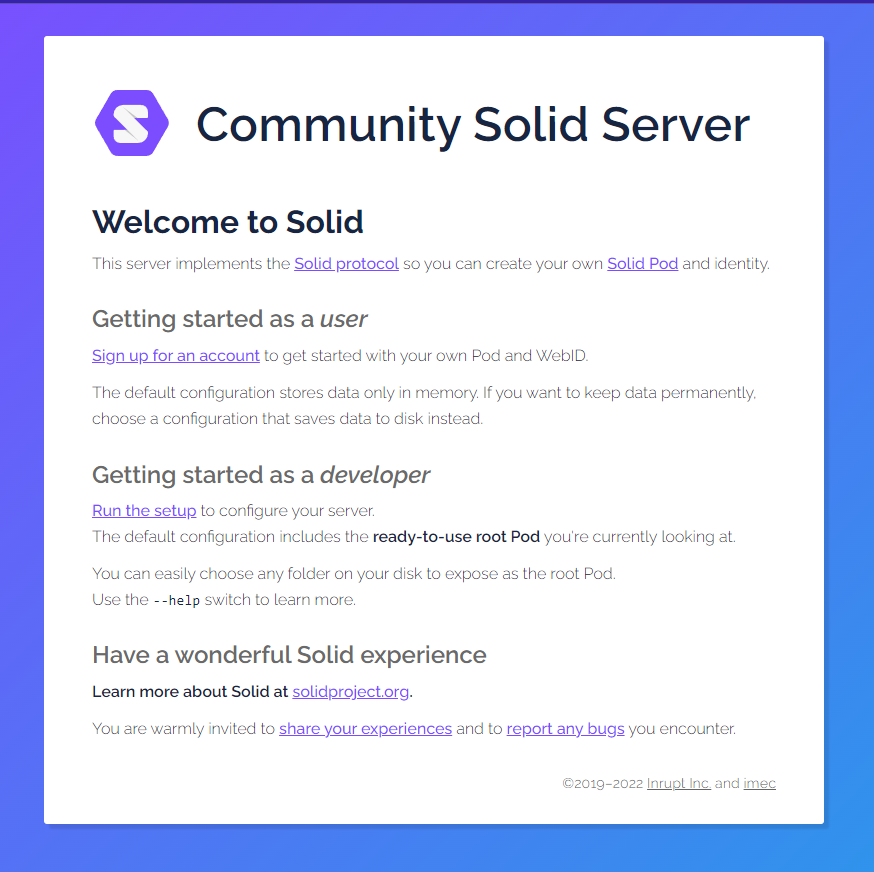
Now when you access your Domain, you should see this:
After running the Setup, you will be presented with this:
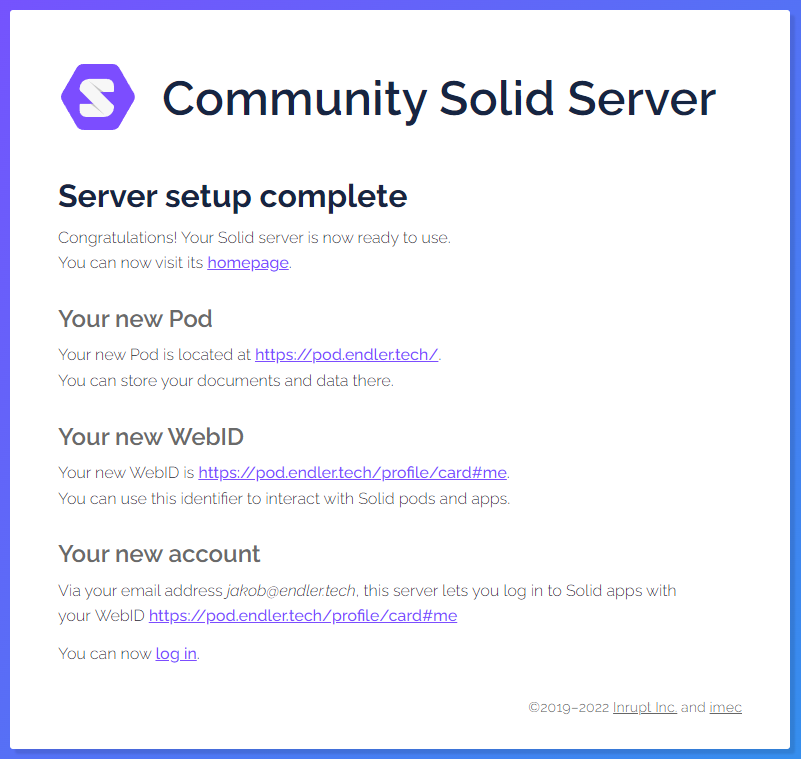
Congrats, we did it :)
related: Tim Berners Lee Interview